Getting Started

Evaluation Kit 5.2

We always try to make it easy to learn more about our displays and their benefits. Please do not hesitate to contact support@ynvisible.com if there are any questions.

Download the Evaluation Kit Guide

Introduction

We’re really happy that you’re interested in our ultra-low-power, thin, and flexible e-paper displays. The kits have been developed for testing and rapid prototyping purposes. This guide contains all instructions needed to get started and to learn more about our Segment Displays.

Please note: If you purchased displays before July 2nd 2025, please follow this guide instead.

What's included

item 1

Ynvisible Segment Displays

Segmented e-paper displays with different layouts, shapes, and symbols, suitable for testing and evaluation.

  • 3 single-digit display
  • 1 double-digit display
  • 5 single-segment/icon displays
  • 4 progress bars (7-segment and 3-segment)

What's included

item 2

Driver 5.2

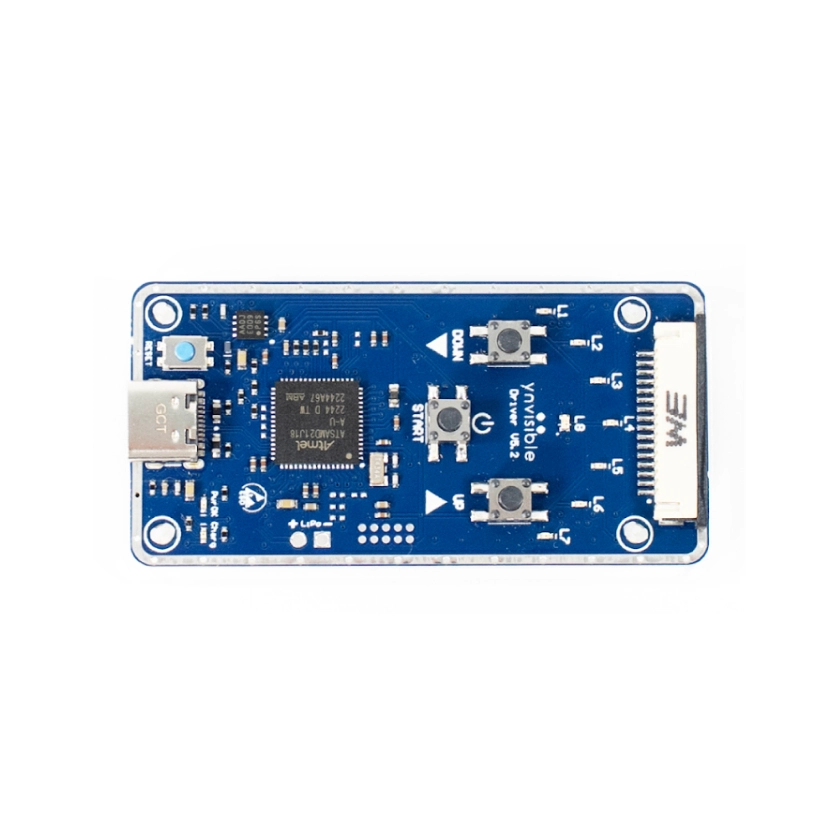
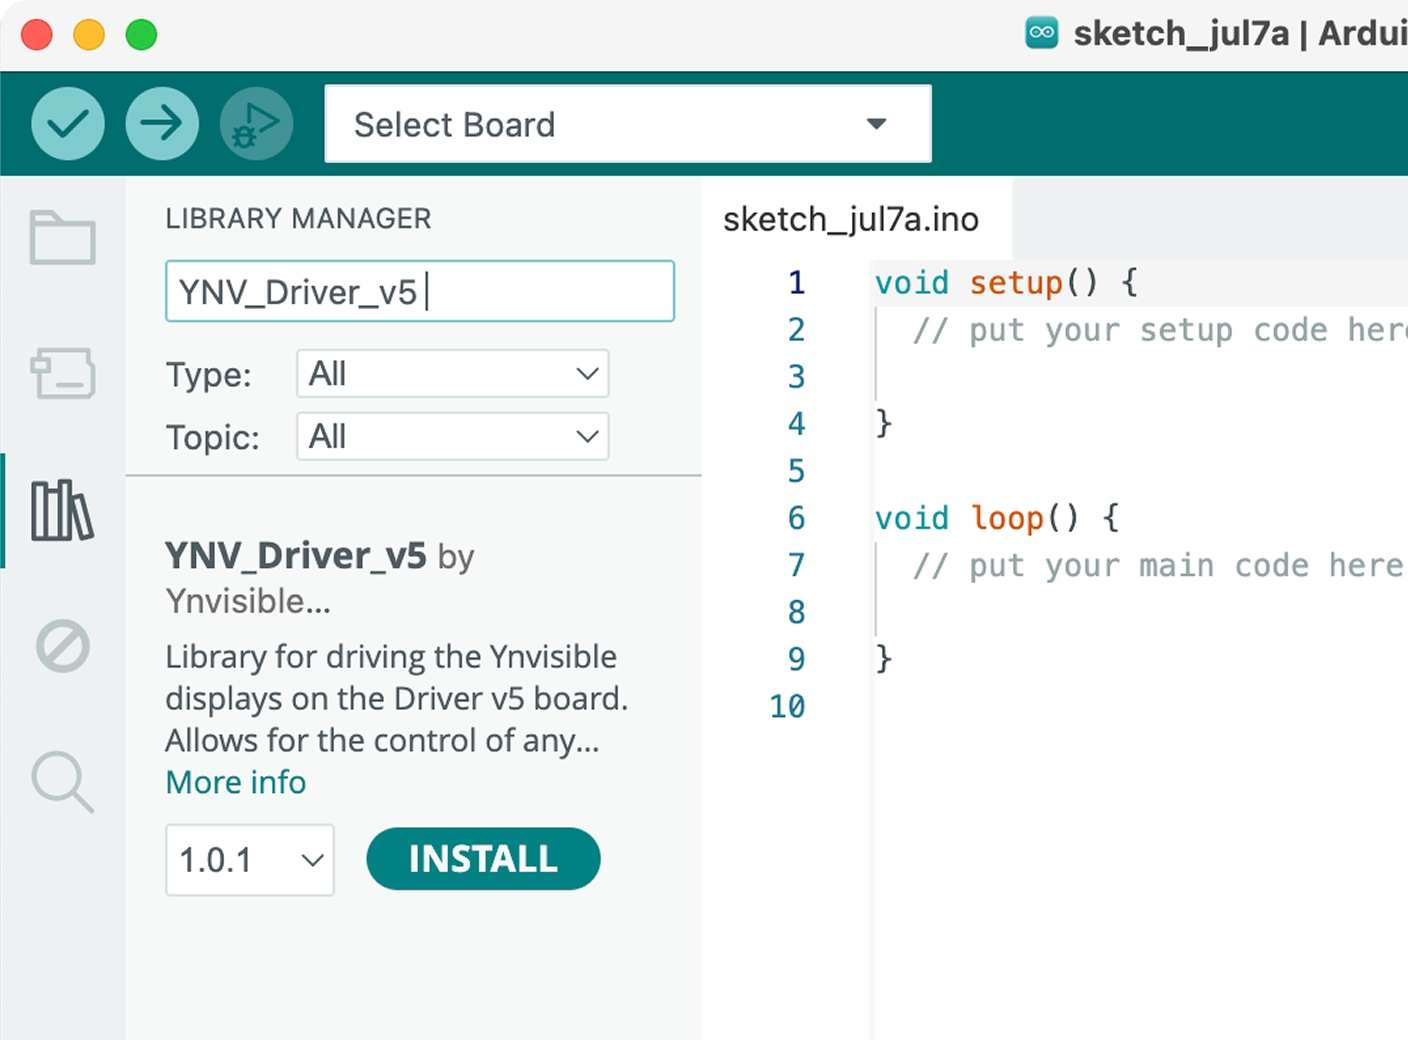
How to Use the Driver 5.2 with Ynvisible Displays (read the instructions below or download them)

Instructions Driver 5.2
The Driver 5.2 is a simple and intuitive tool for controlling Ynvisible displays. You can use it with preset animations or integrate it into advanced applications using our software library.
Follow the instructions below to get started:

STEP 1

Install the Required Software

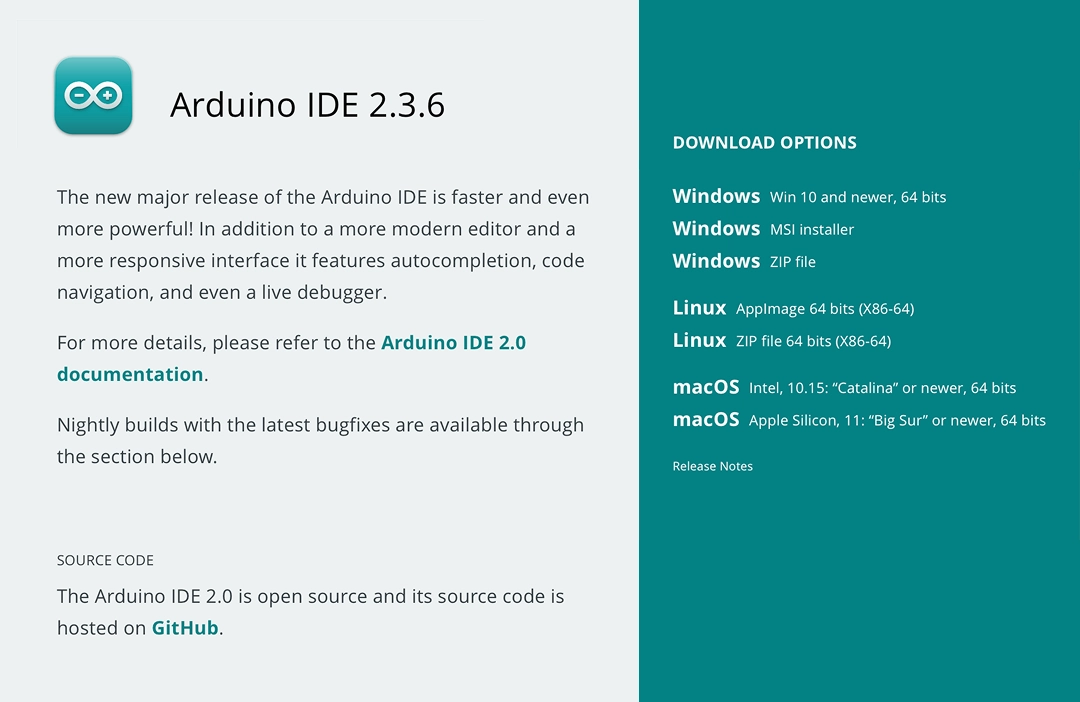
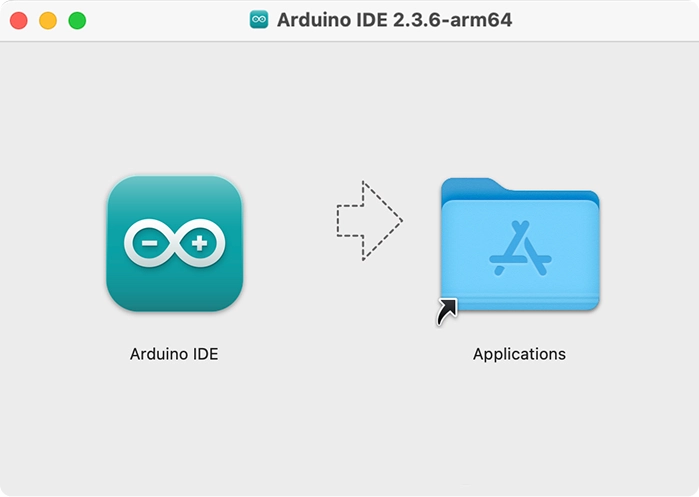
Download and install the Arduino IDE 
https://www.arduino.cc/en/software/ 

Download Arduino IDE

STEP 2

Add the YNV_Driver_v5 Library 

  • Open the Arduino IDE
  • Go to Tools > Manage Libraries... 
  • In the search bar, type: YNV_Driver_v5 
  • Click Install

STEP 3

Add the Driver v5 Board
to the Arduino IDE

  • Open the Arduino IDE
  • Go to File > Preferences
  • In the Additional Board Manager URLs field, add the following URL on a new line: https://github.com/Ynvisible-Electronics/YNV-Driver-v5-board/raw/refs/heads/main/custom_board/package_driver_v5.json, then click OK. 
  • Go to Tools > Board > Boards Manager...
  • Search for YNV Driver v5
  • Select the latest version and click Install
  • After installation, select the board via: Tools > Board > YNV
    Driver v5 > Ynvisible Driver v5

STEP 4

Upload Your First Code

  • Connect the Driver v5.2 to your computer using a USB cable
  • Open the example sketch via: File > Examples > YNV_Driver_v5 > EvaluationKit
  • While holding the START button, click the Upload button in the Arduino IDE
  • Wait for the upload to finish
There are several suggestions regarding both software implementation and driver circuit implementations described in the datasheet.
Do not hesitate to contact support@ynvisible.com for additional help.

For advanced programming and if you want to dive deeper into the Ynvisible Driver 5.2, here are some resources to get started:
Reach out to discover our
full range of solutions
Contact us